Summary
I will describe the implementation of simple chatbot using Node.js and React, which is a front-side server framework using Javascript.
The basic operation is a rule-based one, where after writing the rules of the conversation, you drop them into a json file, and the conversation proceeds according to the flow of the written sequence.
environment setting
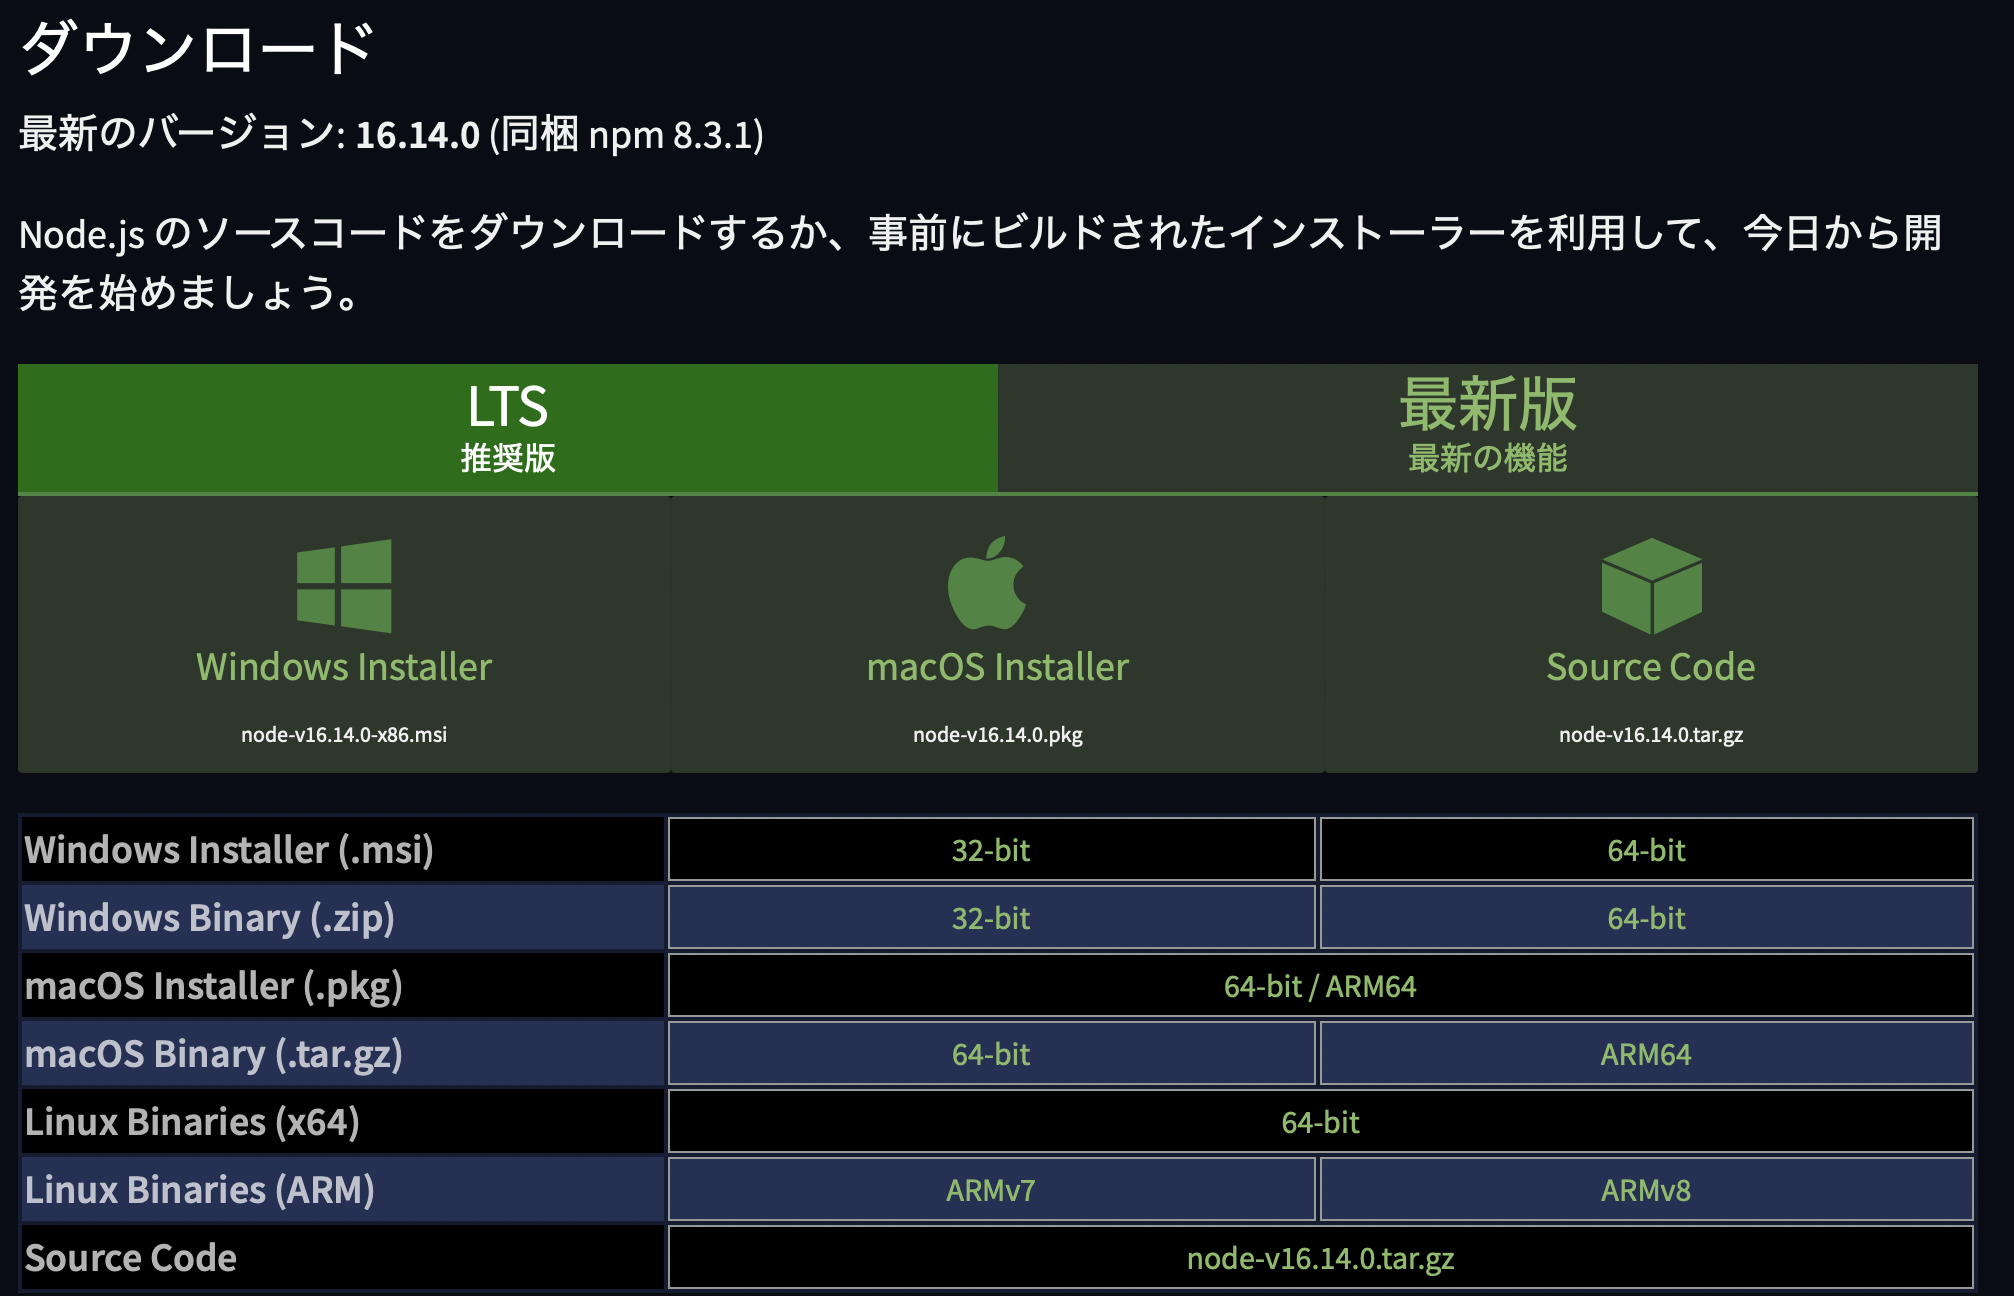
First, we need to install Node.js. If you go to the download page of the Node website, you will see the following page. Download the installer for your OS.

Basically, there are no special settings, just press “next” to complete the download. You can check if the download is complete by typing “node –version” in the terminal and seeing the version displayed. Also, make sure that npm, the package management tool for node, has been downloaded at the same time by typing “npm –version”.
If you are using npm in a company, you will need to set up a proxy.
npm config set proxy (Each proxied adress:例http://proxy.example.com:8080
npm config set https-proxy (Each proxied adress:例http://proxy.example.com:8080
Next, we will create the React framework, which is a Javascript framework. First, run a terminal under a directory in a folder of your choice, and create a react template (name is arbitrary (my-app in this case)).
npx create-react-app my-appNext, go to the my-app directory you created and run React.
cd my-app
npm start
When react is launched, you will see the following React screen in your browser (http://localhost:3000).

The generated my-app folder has the following structure.

In these, the “src” folder will look like the following.

Basically, you will be writing the code in the App.js file. The code written by default is as follows.
import logo from './logo.svg';
import './App.css';

function App() {
return (
<div className="App">
<header className="App-header">
<img src={logo} className="App-logo" alt="logo" />
<p>
Edit <code>src/App.js</code> and save to reload.
</p>
<a
className="App-link"
href="https://reactjs.org"
target="_blank"
rel="noopener noreferrer"
>
Learn React
</a>
</header>
</div>
);
}

export default App;
react-simple-chatbot
We will use react-simple-chatbot as a library for Chatbot.

Click on the Documentation button, and the installation instructions will appear.

In a terminal, type “npm install react-simple-chatbot -save” to install the library.
Replace the App.js file with the following one.
import React from 'react';
import Sample from './sample';
import './App.css';

function App() {
const style = {
width: "50%",
margin: "0 auto",
marginTop: 150
};
return (
<div className="App">
<div style={style}>
<Sample />
</div>
</div>
);
}

export default App;
In addition, create a sample.js file in the same folder and code the cahtbot sequence as shown below.
import React from 'react';
import ChatBot from 'react-simple-chatbot';

export const Sample = () => {
return (
<ChatBot
steps={[
   {        id: '1',
   message: 'What is your name?',
   trigger: '2', },
  {        id: '2',
         user: true,
   trigger: '3', },
  {        id: '3',
   message: 'Hi {previousValue}, nice to meet you!',
           end: true, },
       ]}
/>
)
}

export default Sample
After that, it is basically just a matter of converting the sequence you created on Excel, etc. into the above json data structure.
When the creation is finished, you can “npm start” in a terminal and check the operation in a browser.

コメント